How to Clean Suede Boots
Boots add a problem suede shoes don't have: a tall, unsupported shaft that creases at the ankle if it dries collapsed. Here's the method built around keeping it upright.
Quick answer · care label Suede — LS
-
1 · Wash
Do not wash -
2 · Bleach
No bleach -
3 · Dry
Dry in shade -
4 · Iron
Do not iron -
5 · Pro care
Pro clean P
In one line Brush dry, spot-treat salt rings the full height of the shaft with a barely damp vinegar cloth, dry standing upright with a boot shaper for 24–36 hours away from heat, then brush the nap back up. Total hands-on time: 20 minutes.
Can suede boots handle a wet walk, or is that asking for trouble?
They can, and better than most people expect. Suede is leather with a raised nap, and leather tolerates water. That hasn’t changed just because the item is taller. What changes with boots is how much can go wrong while they dry. A pair of suede shoes only has a toe box and a heel to hold in shape. A boot adds a full shaft, sometimes 15 cm or more of unsupported leather that will happily dry creased, slouched or leaning to one side if nothing is holding it up.
That shaft is also why boots take more salt damage than any other suede item. Road salt climbs higher up a boot than it ever reaches on a low shoe, and it dries as a pale, chalky ring that brushing alone won’t fully lift. The method below is the same core routine as any suede item, with the drying step built specifically around keeping a tall shaft upright and supported.
Water in, water out, slowly, away from heat, with the shape held the entire time it dries. For boots, that means the shaft as much as the foot. Skip the shaft support and the leather dries with a fold across the ankle that brushing cannot remove.
What you’ll need
| Item | Why | Substitute |
|---|---|---|
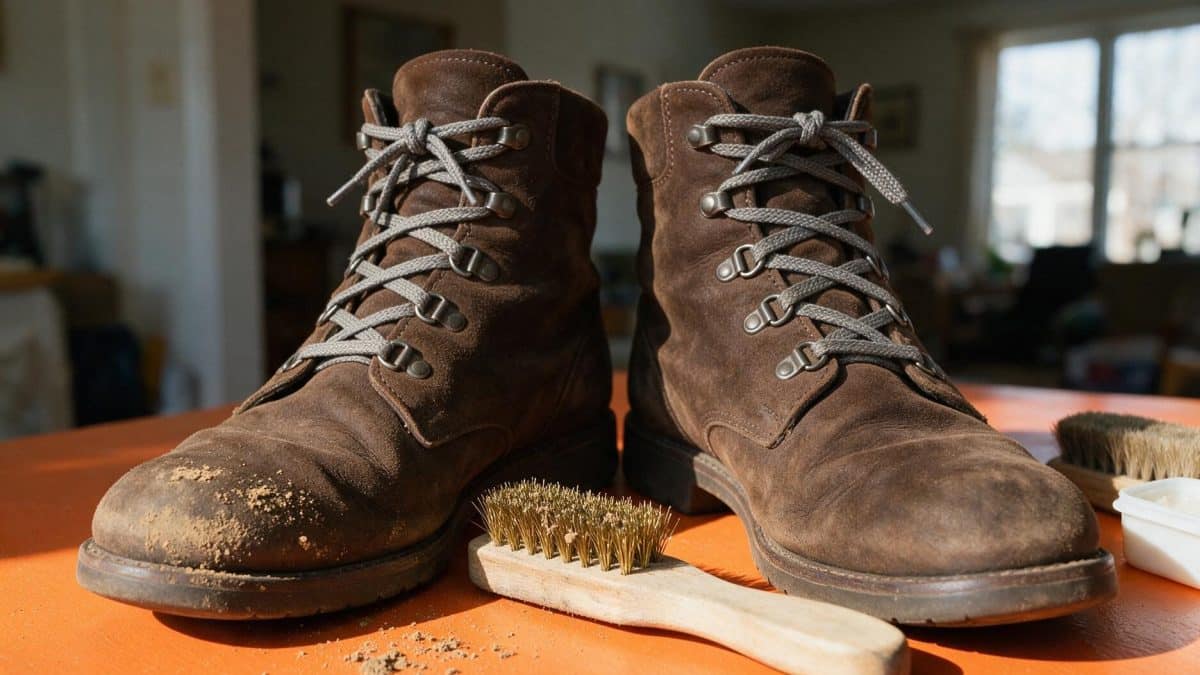
| Suede brush | Brass or nylon bristles lift the nap without cutting it | A clean, dry toothbrush |
| Tall boot shapers or rolled paper | Holds the shaft upright and the toe box in shape while the boot dries | Two full sheets of kitchen paper, rolled tight and pushed the full height of the shaft |
| White vinegar | Lifts salt rings at a pH the leather tolerates | Rubbing alcohol, mixed 1:1 with water |
| Suede eraser | Removes dry scuffs at the toe and heel without water | A clean pencil eraser for small marks |
The method, step by step
Let the boots dry fully first
If they’re wet or muddy, don’t start yet. Push a boot shaper or rolled paper the full height of each shaft so it dries standing upright, not slouched over, then leave them away from any heat source.
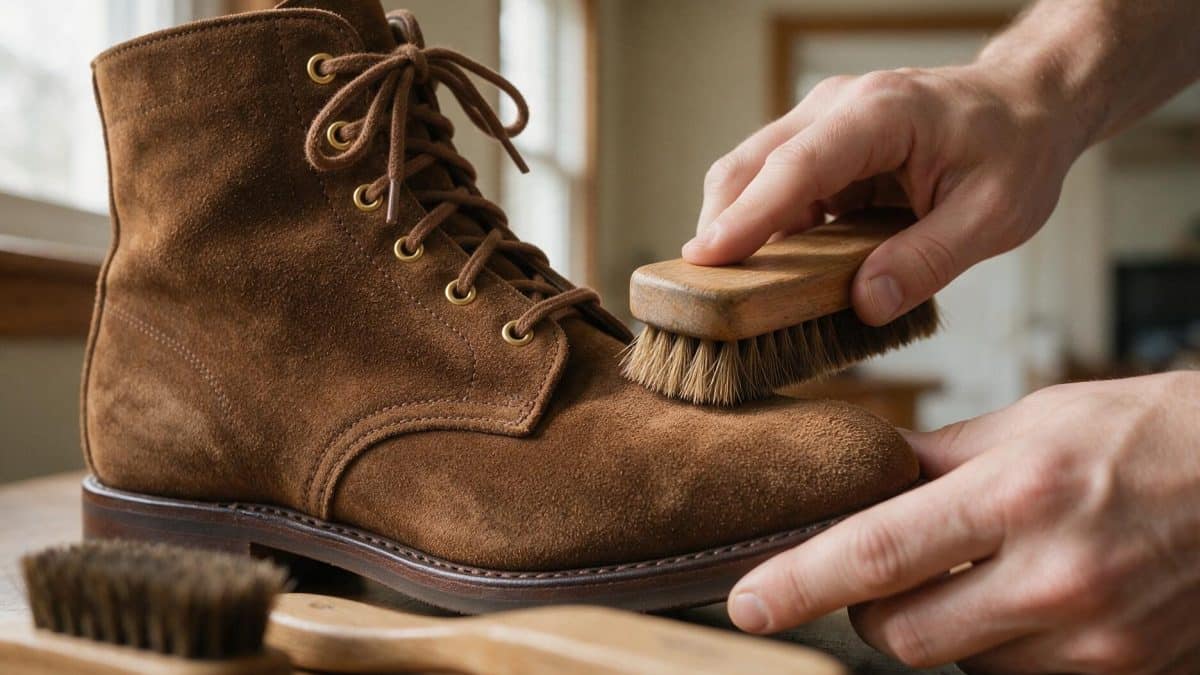
Brush the entire upper, one direction
Short strokes following the grain of the nap. Give the shaft extra passes near the ankle crease and work all the way down to the welt, where road grit collects and abrades the nap if it’s left in place.
Spot-treat salt rings and marks
A cloth dampened with a 1:1 mix of white vinegar and water, pressed onto the mark and lifted rather than rubbed. Salt rings on boots often sit higher up the shaft than you’d expect, so check the full height, not just near the sole.
Re-insert the shaft support
If you pulled the shaper or paper out for the spot treatment, put it straight back before the boot starts drying. This is the single step that prevents the ankle crease people usually blame on “cheap suede.”
Dry standing upright, in shade, away from heat
Never a radiator, never a boot dryer on a heat setting, never a car heater vent. Standing the boot upright on its sole, not leaning against a wall, keeps the shaft straight while the leather is still soft enough to hold a fold.
Brush the nap back up, then protect
Once bone dry, brush the whole boot again to raise the fibre and even out the colour, paying attention to the ankle crease where the leather flexed most. Finish with two light passes of a silicone-free suede protector spray, held about 25 cm away, covering the shaft as thoroughly as the foot.
Interactive
Label decoder
Tap a symbol from your care label. No guessing, no scrolling.
19 symbols. Pick one.
The shaft is where suede boots fail first
Shoes fail at the toe. Boots fail higher up, and the fix is almost always the same: keep the leather supported while it’s damp.
| Spot | What goes wrong | Fix |
|---|---|---|
| Ankle shaft | Creases or folds permanently if it dries slouched instead of upright | Full-height boot shaper or rolled paper on every wet clean, not just storage |
| Heel counter | Collapses inward if the boot rests on its side while drying | Dry standing on the sole, never lying down |
| Welt and lower shaft | Takes the most road salt of any suede item, dries as a chalky ring | Check the full shaft height with vinegar, not just the section nearest the sole |
Common suede boot stains
| Stain | Treatment | Recoverable |
|---|---|---|
| Road salt (shaft and welt) | Undiluted white vinegar dabbed on, repeated once dry if a ring remains | Yes |
| Scuffs at the toe or heel | Suede eraser, worked in short strokes, then brushed | Yes |
| Oil or grease from pavement | Cornflour pressed on, left 8 hours, then brushed away | Usually |
| Deep-set mud on the shaft | Fully dried first, then brushed hard; never scraped while wet | Usually |
Machine wash, tumble dry, or clean with saddle soap and leather conditioner. Conditioner is made for smooth leather; on suede it mats the nap flat, and on a tall shaft the flattened patch is far more visible than it would be on a shoe.
Buying suede boots that survive a wet winter
A few checks before buying save a lot of brushing once the weather turns.
- Ask about the finish. Many suede boots ship with a factory water-repellent treatment aimed at winter wear. It fades with salt exposure, so a fresh coat of protector spray partway through the season extends it rather than replaces it.
- Check how the shaft is built. A shaft with some internal structure (a stiffened counter, a lining that holds shape) creases far less than an unlined one, which matters most if the boots are meant for daily wear through a full winter.
- Darker suede hides salt rings better. Pale grey and sand tones show water and salt marks far more readily than tobacco or black, worth knowing if these are meant for regular winter use rather than occasional wear.
Related guides
This method covers ankle and calf-height boots specifically. A few situations need a different approach:
- Low-cut styles crease at the toe rather than the shaft, and dry faster with a simpler setup. See how to clean suede shoes.
- Suede combined with mesh or rubber panels needs spot treatment that stops at the seam. See how to clean suede sneakers.
- For the general method behind all of this, and how suede compares to nubuck and nappa leather, see how to clean suede.
Questions
Can I wear suede boots in snow, not just rain?
Yes, with a protector spray applied beforehand and the boots dried properly afterward. What causes damage isn’t the snow itself, it’s road salt sitting on the leather for days and drying unaddressed, or the boots going straight onto a radiator to dry faster.
My suede boots have a white, chalky line near the sole. What is that?
Salt residue, and it’s the most common stain on suede boots specifically because they’re worn through winter more than any other suede item. Undiluted white vinegar dabbed on the ring and left to dry usually clears it; repeat once if a faint trace remains.
How often should I reapply protector spray on boots I wear all winter?
Roughly every six to eight wears in salted, wet conditions. That’s more often than a jacket or bag needs, since boots take the most repeated exposure of any suede item. Reapply again after any vinegar spot treatment, which strips the previous coat along with the stain.
Is it worth having suede boots professionally cleaned?
For a favourite pair with a stain that vinegar and cornflour won’t shift, yes. A professional can use solvents that lift oil-based marks safely. For routine salt rings and scuffs, the home method above gets the same result for free.