How to Clean Timberland Boots (The Whole Boot, Not the Spot)
Timberland says clean the entire boot, never one spot: nubuck dries with a visible tide line wherever wet leather meets dry, and heat sets that edge into the nap.
Quick answer · care label Nubuck leather — 6-inch boot
-
1 · Wash
Do not wash -
2 · Bleach
No bleach -
3 · Dry
Dry in shade -
4 · Iron
Do not iron -
5 · Pro care
Pro clean P
In one line Let mud dry and brush it off, erase scuffs while everything is still dry, then clean whole panels rather than single spots so no tide line forms. Stuff the boots and air-dry them standing for 24 to 48 hours away from heat, then raise the nap and re-proof. Total hands-on time: 25 minutes.
Timberlands are waterproof, so why does water leave a mark on them?
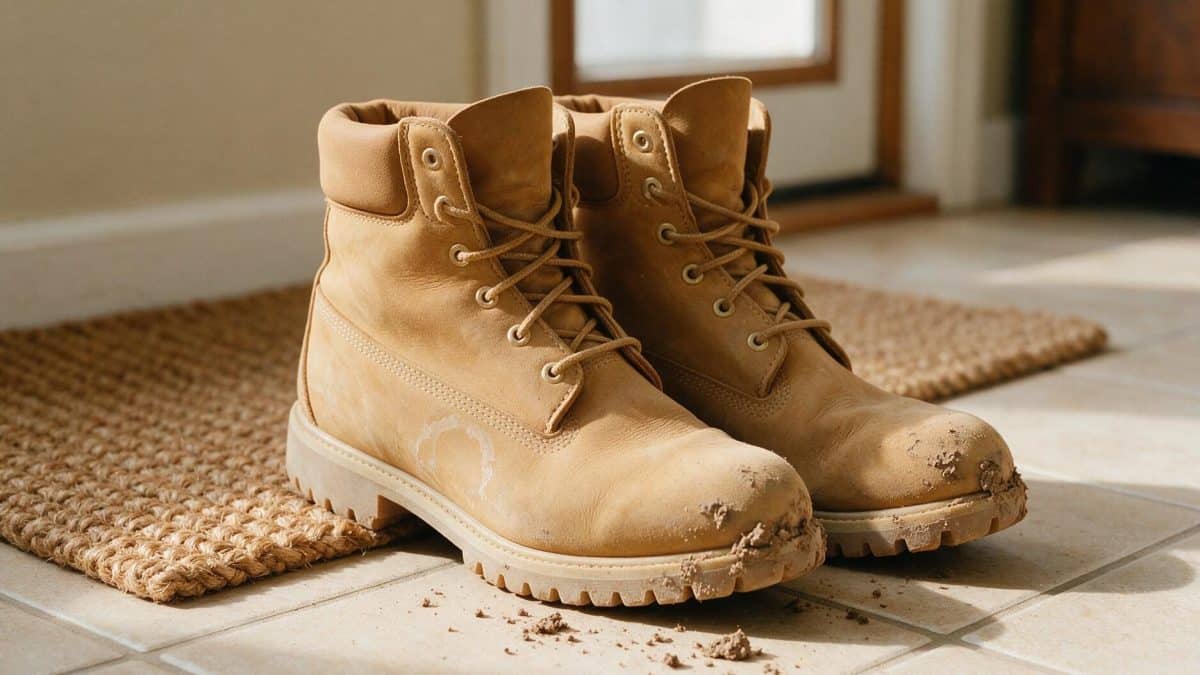
Because those are two unrelated things. “Waterproof” on a Timberland describes what gets into the boot: on the classic 6-inch Premium, sealed seams and leather treated during tanning keep your foot dry in slush. None of it governs how the outside looks. A splash lands on the nap, soaks in, darkens that patch and dries at its own rate, leaving a pale ring around a slightly different shade of tan. The boot did its job. It just looks like it failed.
The surface doing that is nubuck, not suede, and almost every mistake made on these boots starts with confusing the two. Nubuck is top-grain leather sanded until it carries a short, tight nap. It is the tougher of the two materials by some distance, and it pays for that by showing every water mark, scuff and finger-oil smudge that lands on it.
Timberland’s instruction for its own Renewbuck cleaner is to work the product into the entire surface and not to spot clean. It does not say why. The reason is that a cleaned patch dries at a different rate from the dry nap beside it, and that boundary is what the eye picks up. Whatever you use — branded foam, a suede shampoo, a cloth wrung out in cool water — take it seam to seam across the full panel.
What you’ll need
| Item | Why | Substitute |
|---|---|---|
| Nubuck or suede brush | Brass and nylon bristles lift grit out of the nap without cutting the fibres | A clean, dry toothbrush, short strokes |
| Nubuck eraser or crepe bar | Takes off dry scuffs and shine by friction, before any liquid is involved | A clean white pencil eraser for small marks |
| Nubuck cleaner | Lifts embedded grime across a whole panel at once rather than in patches | A cloth wrung out hard in cool water, taken across the same panel |
| White vinegar | Mildly acidic, so it dissolves the alkaline road salt brushing leaves behind | Rubbing alcohol, 1:1 with water |
| Newspaper or boot shapers | Holds the shaft upright and draws moisture out of the lining from inside | Kitchen paper rolled tight, swapped once while drying |
| Suede and nubuck protector | Replaces the water repellency that any cleaning step strips off | Any spray labelled for suede and nubuck; category beats brand |
The method, step by step
Let the mud dry before you touch it
Wet mud pushed around by a brush goes into the nap and stays. Dry mud sits on top and flakes off. Stand the boots somewhere cool and leave them. If they are soaked as well as dirty, this doubles as the drying step.
Pull the laces and lift the footbed out
Laces wash separately, in a mesh bag or a bowl of warm water. The anti-fatigue footbed in a Premium 6-inch is removable, and it dries far better out of the boot than in it. An open tongue also gets you at the leather behind it, where salt collects unseen.
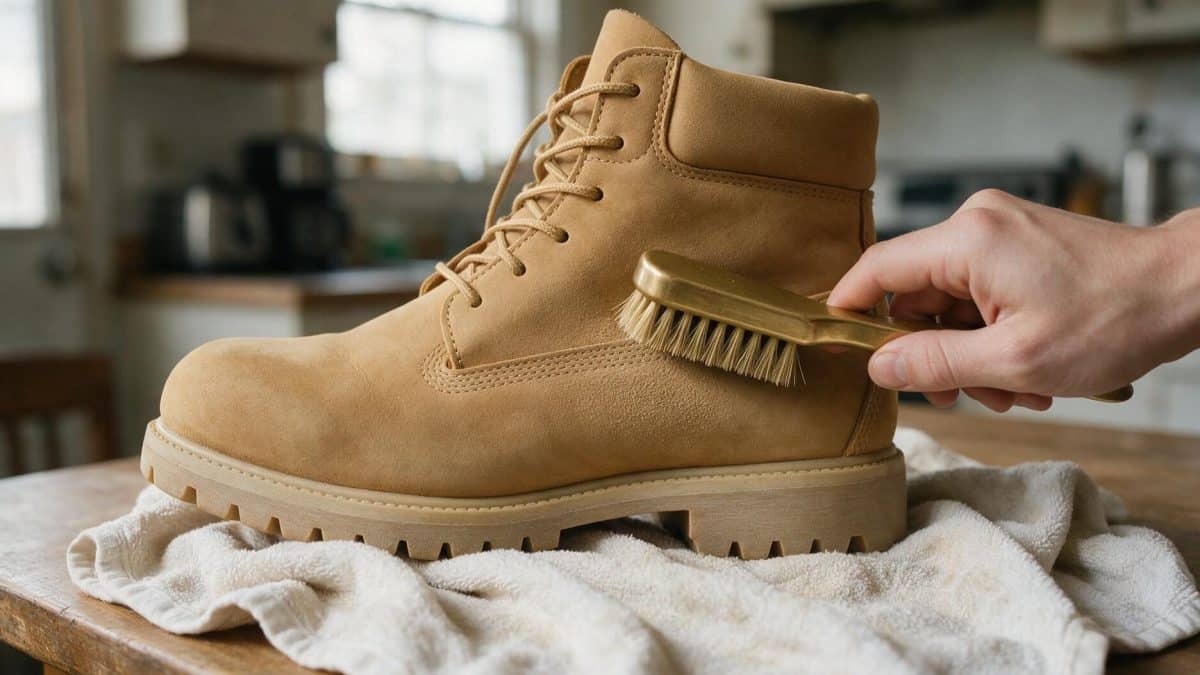
Brush the whole boot dry, all in one direction
Short strokes following the nap, across the entire upper, not just the dirty face. Knock the dried mud off with the flat of the brush first, then work along the welt, where grit lodges and abrades the leather.
Erase scuffs and shine while everything is still dry
A nubuck eraser or crepe bar takes the glossy patches off the toe and outer heel by friction alone. Once a panel is damp, rubbing presses the nap flat instead of lifting it and the shine gets worse.
Clean whole panels, never single spots
Treat the boot as areas bounded by seams: the toe box, each quarter, the shaft. Foam cleaner on a dry cloth, or a cloth wrung out hard in cool water, taken evenly across the whole area and lifted rather than scrubbed. Test inside the shaft first; that is step one of Timberland’s own instruction. For salt rings, add vinegar to the cloth.
Stuff them, stand them up, keep them off the radiator
Newspaper or shapers inside, boots upright on their soles, at room temperature and out of direct sun, for 24 to 48 hours. An insulated 6-inch holds water long after the outside stops showing it, and wearing them damp is what starts the smell. Swap the paper once early on.
Raise the nap, then re-proof
Brush the whole boot again once it is bone dry. This is the step people skip, and the one that evens the tone back out. Then a light, even coat of a suede and nubuck protector, held 10 to 15 cm (4 to 6 in) away, over the entire boot rather than the parts that got wet. Timberland’s instruction for its own Balm Proofer is a couple of hours between coats and a full 24 hours’ drying before the boots go back on. On pale shades it can darken the leather slightly, which is the other reason to test a hidden patch first.
Nubuck is not suede, and the difference decides the method
Shops and search results use the two words interchangeably, which is how people reach for the wrong product. The distinction is which face of the hide you are looking at.
| Surface | What it is | How it behaves |
|---|---|---|
| Nubuck | The outer grain side of the hide, sanded to a fine, tight nap | Dense and hard-wearing; takes firm brushing, but shows water marks readily |
| Suede | The inner split of the hide, with a longer, looser nap | Softer and weaker; needs a gentler brush and marks more easily |
| Full-grain leather | The grain side left smooth and unsanded | Damp cloth and a cream or wax; no brushing, no eraser |
Timberland sells all three, so the boot decides the method, not the model name. If the surface changes shade when you drag a finger across it, brush it. If it is smooth and reflects light, do not — see how to clean leather boots. For the same nap principles on the softer material, see how to clean suede.
Can you put Timberland boots in the washing machine?
No, and the usual reason given is the wrong one. The standard warning is that a wash cycle dissolves the glue and the sole falls off. On the classic Timberland that is misplaced: the outsole is injection-moulded onto the upper rather than glued on, the construction the company was built around, so there is no cement line for water to work at the way there is on a sneaker. Soles coming away is not this boot’s typical failure.
What a machine threatens is everything else. Prolonged soaking and tumbling drives water through the seam-sealing the boot depends on, mats the nap into a flattened, blotchy finish, waterlogs the padded collar and insulation, and strips the repellent treatment off the leather. Then the dryer finishes it. Heat is often said to “cook” leather, but published shrinkage-temperature testing puts that threshold higher than most people assume: roughly 70 to 85 °C (158 to 185 °F) for vegetable-tanned leather in hot water, higher again for chrome-tanned. A dryer rarely reaches true collagen shrinkage. It pulls moisture out faster than the leather can equalise instead, leaving it stiff and prone to cracking at the flex points.
Timberland’s care pages carry no machine-wash instruction at all. What they carry is a method built entirely on brushes, dry cloths, foam and a cleaner bar, and that absence is not permission. For footwear generally, can you machine wash shoes sets out which uppers survive it, and how to dry shoes in the dryer covers the drying half.
Never put mink oil, saddle soap, shoe polish or smooth-leather conditioner on nubuck. Those products are made to soak into a smooth grain surface; on a napped one they saturate the fibres and lay them flat, leaving a dark, glossy patch. Timberland says the same of its own waxed leather protector: it cannot be used on suede or nubuck. It is one of the few genuinely irreversible things you can do to these boots. Brushing will not raise a nap that has been oiled.
Common Timberland stains, and which ones actually come out
| Stain | Treatment | Recoverable |
|---|---|---|
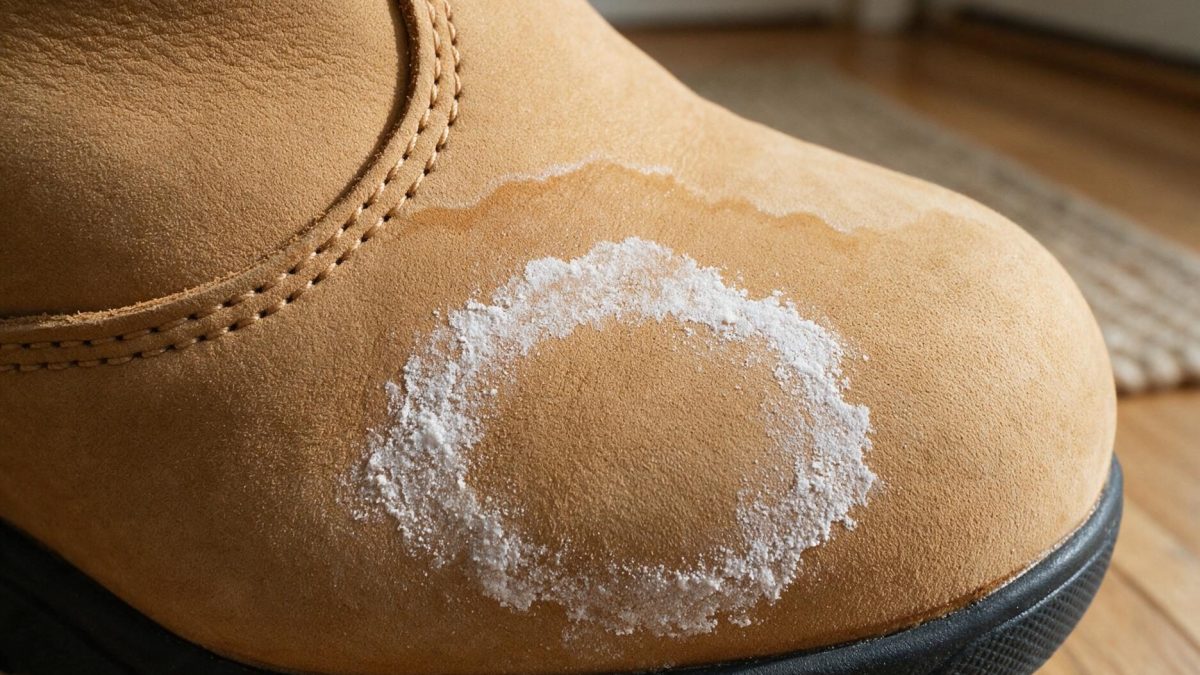
| White road-salt rings | Vinegar-and-water cloth dabbed across the whole panel, then dried and brushed | Yes |
| Water tide line | Re-damp the entire panel evenly, blot, dry slowly in shade, brush | Yes |
| Scuffs and shine at the toe | Nubuck eraser or crepe bar, dry, then brushed back up | Yes |
| Grease or oil from pavement | Cornflour pressed on, left overnight, brushed away; repeat once | Usually |
| Dye transfer from wet dark denim | Nubuck cleaner across the whole panel, then a cleaner bar on what is left | Sometimes |
| Oiled or polished nap | Nothing reliable; the fibres are saturated and lie flat | No |
On salt rings Timberland’s own answer is a mixture of diluted vinegar and its cleaner, and diluted is the operative word: road salt is alkaline and vinegar is a mild acid, but acid on leather is not a free action. Start at 1:1 with cool water, repeat once the panel dries if a trace remains, and re-proof either way. On denim dye, Timberland promises its cleaner and cleaner bar will lift it; on wheat nubuck, expect lightening rather than removal.
The pale rubber sole on a wheat pair is a separate job with separate rules: warm soapy water and a stiff brush are fine there, and melamine foam works on rubber. Keep both off the leather.
Buying a pair that survives more than one winter
- Proof them before the first wear. Timberland’s guidance is to apply the protector on the day you buy the boots, and to care for them weekly if you wear them every day. A pair that gets its first coat after the first salted walk has already absorbed what you meant to keep out.
- Wheat shows everything. The pale tan that made the boot famous is the shade on which salt rings, water marks and pavement grease show most. Darker nubuck hides all three, at the cost of the look most people want.
- Check whether the footbed lifts out. That is the difference between a boot you can dry and de-smell properly and one where moisture stays put.
- The sole is moulded on, not stitched. It seals well, but it is not made to be taken apart and resoled the way a welted boot is. Treat the outsole as a wear item and look after the upper, which outlasts it.
Related guides
- Smooth leather boots take a damp cloth and a conditioning cream; a brush would do nothing useful. See how to clean leather boots.
- Suede has a longer, weaker nap that needs lighter brushing and marks more readily. See how to clean suede boots.
- If the problem is the inside rather than the outside, the fix has nothing to do with the leather. See how to clean smelly shoes.
- For how nubuck sits among the other leathers, see how to clean leather.
Questions
Can I clean Timberlands with dish soap and water?
Not on the nubuck. Detergent lifts the tanning oils and the water-repellent finish out along with the dirt, and the nap dries flat and blotchy afterwards. Dish soap and warm water are fine on the rubber sole. On the leather, use a cleaner made for suede and nubuck, or a cloth wrung out hard in plain cool water.
Are Timberlands suede or nubuck?
The classic wheat 6-inch is nubuck: top-grain leather sanded on the outer side of the hide. Suede comes from the inner split and is softer and weaker. Timberland also sells smooth full-grain models, so check the surface, not the model name.
How do I get the white salt lines off my Timberlands?
A cloth damp with equal parts white vinegar and cool water, dabbed rather than rubbed, taken across the whole panel and not just the ring. Dry away from heat, brush the nap up, repeat if a trace remains. Re-proof afterwards: the treatment takes the old protector coat off with the salt.
My Timberlands got soaked through. Are they ruined?
Almost certainly not. Leather tolerates water; what damages it is drying fast. Stuff them with newspaper, stand them upright away from any radiator or heater vent, and allow 24 to 48 hours. Brush the nap up once dry and the shade usually evens out.
Can I use a Magic Eraser on Timberland boots?
On the rubber sole, yes. On the nubuck, no. Melamine foam works by abrasion, so on napped leather it takes the nap off with the mark and leaves a shiny bald patch that cannot be brushed back. Use a nubuck eraser on the leather.
Should I use leather conditioner to stop the nubuck cracking?
No. On nubuck, conditioners and oils mat the standing fibres into a dark, glossy patch that does not recover. What keeps nubuck supple is not being dried out by heat, and what keeps water off it is a protector made for napped leather.