How to Clean Leather Boots (Drying Is the Step That Ruins Them)
Wet leather is not the problem. Wet leather near heat is: soaked hide shrinks permanently, and road salt keeps drawing the fats out long after the white tide line has been wiped away.
Quick answer · care label Leather — smooth boot upper
-
1 · Wash
Do not wash -
2 · Bleach
No bleach -
3 · Dry
Dry in shade -
4 · Iron
Do not iron -
5 · Pro care
No dry clean
In one line Brush the boots dry first, then wipe one panel at a time with a barely damp cloth, and lift road-salt tide lines with a 1:1 white vinegar and water mix dabbed on rather than scrubbed. Dry them for 24 to 48 hours at room temperature with newspaper inside, never near heat, and condition only once they are fully dry. About 30 minutes hands-on.
Leather boots are built for weather, so why is cleaning them the thing that ruins them?
A leather boot is designed to be rained on. What it is not designed for is the twenty minutes after you come inside, when it is soaked and the nearest warm thing looks like a sensible place to put it. Leather is a network of collagen fibre held open by tanning and by the fats the tannery works into it. Dry leather tolerates a surprising amount of heat. Wet leather does not: soaked fibre shrinks at temperatures a radiator reaches easily, and the surface never comes back.
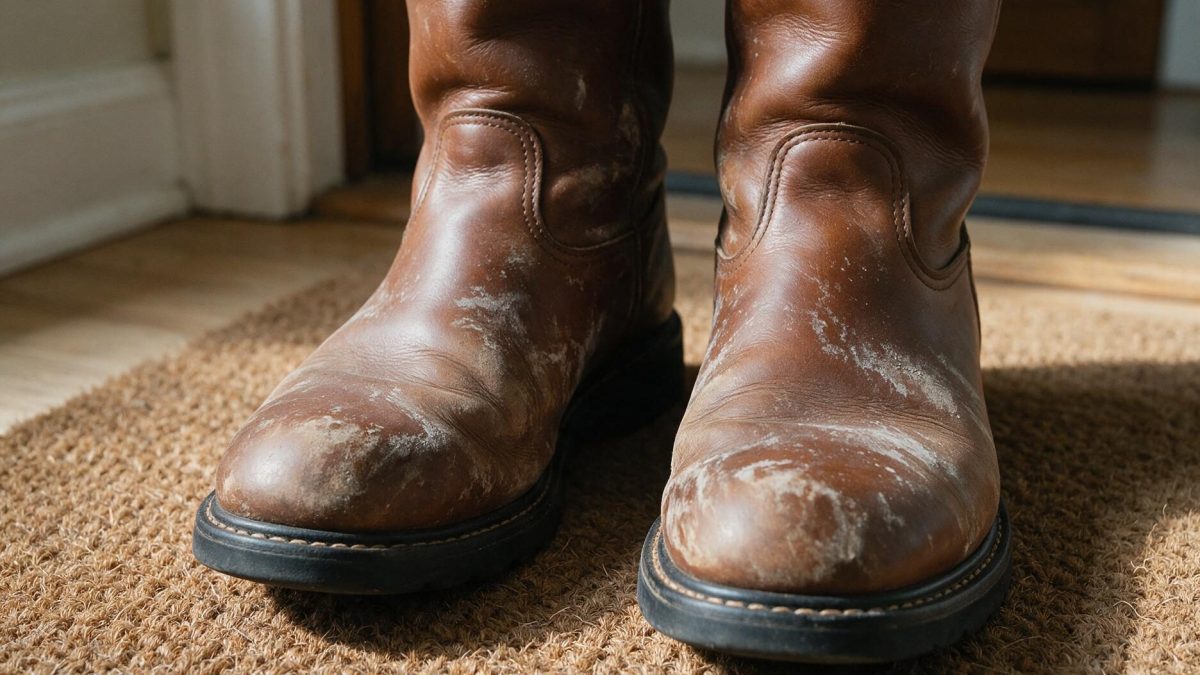
The second thing that goes wrong is what the water leaves behind. Road salt dissolves in slush, travels into the leather with the moisture, then crystallises at the edge of the drying front. That is the white tide line, and it is not sitting on the surface: the crystals are in among the fibres, and the leather often swells into a ridge along the mark. Salt pulls the tannery’s fats out too, which is why a boot that has seen two winters of it feels papery even after it looks clean.
The third thing is that “leather boot” covers at least four surfaces that want different amounts of moisture. A pigmented boot wipes clean like a plastic sheet; an oil-tanned work boot wants warm water and more oil; unfinished full-grain drinks whatever you put on it, including the mark you were trying to remove. The method below is the safe middle; the section after the decoder tells you which one you own.
Use the least water the dirt requires, and take twice as long as feels necessary getting it back out. Every reversible mistake on a leather boot happens while cleaning; the irreversible one happens while drying.
What you’ll need
| Item | Why | Substitute |
|---|---|---|
| Horsehair brush | Sweeps grit out of the welt seam and stitching before water carries it into the leather | A soft nail brush, or an old toothbrush for the welt |
| Two cotton cloths | One barely damp, one dry. Two cloths is the habit that stops you over-wetting a boot | An old cotton T-shirt cut in half |
| pH-neutral leather cleaner | Lifts road film without stripping the fats the tannery put into the fibre | One drop of mild dish soap in a cup of warm water |
| White vinegar | A mild acid neutralises alkaline road salt so it can be wiped out of the fibre | A proprietary salt-stain remover |
| Leather conditioner | Puts back the fats cleaning and salt take out; a cream or balm, never a kitchen oil | Dubbin or mink oil, but only on oil-tanned and waxed boots |
| Newspaper | Draws water out from inside the boot as it dries at room temperature | Kitchen paper, changed as it saturates |
The method, step by step
Unlace them and take the insoles out
Laces hold grit and stay wet long after the boot looks dry, and a loose insole dries far faster out than in. Pulling both also opens the tongue gusset, where salt and mud collect unseen.
Brush everything dry, before any water
Dried mud brushes off in flakes; wet mud grinds into the grain and the welt stitching. If they came in caked, leave them somewhere cool until the mud goes hard, then brush — along the welt seam, not just across the panels.
Wipe one panel at a time with a barely damp cloth
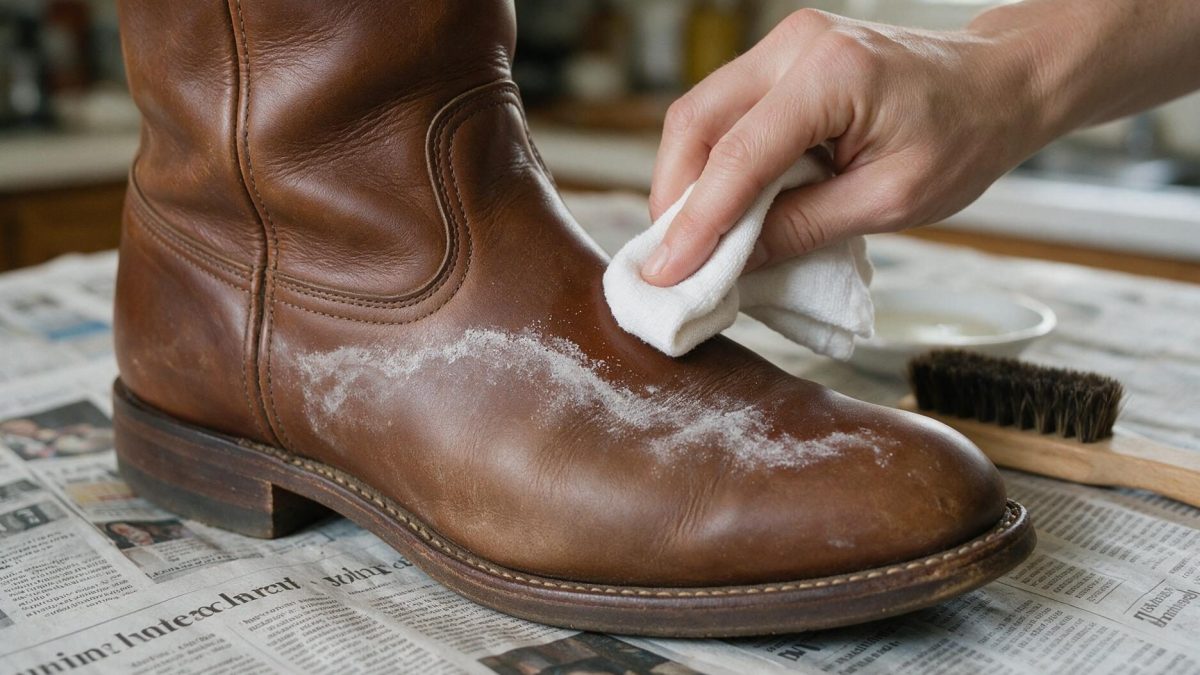
Wring the cloth until it will not drip, put the cleaner on the cloth rather than the boot, and do the toe, the vamp and the shaft as separate passes, drying each with the second cloth before moving on. Never submerge a boot or hold it under a tap: water in the lining and insole board takes days to leave.
Take salt lines off with vinegar and water
One part white vinegar to one part cool water on a cloth, dabbed along the tide mark rather than scrubbed. Let it dry fully and look again. Two mild passes lift more salt than one heavy one, with a fraction of the water.
Dry them slowly, away from every heat source
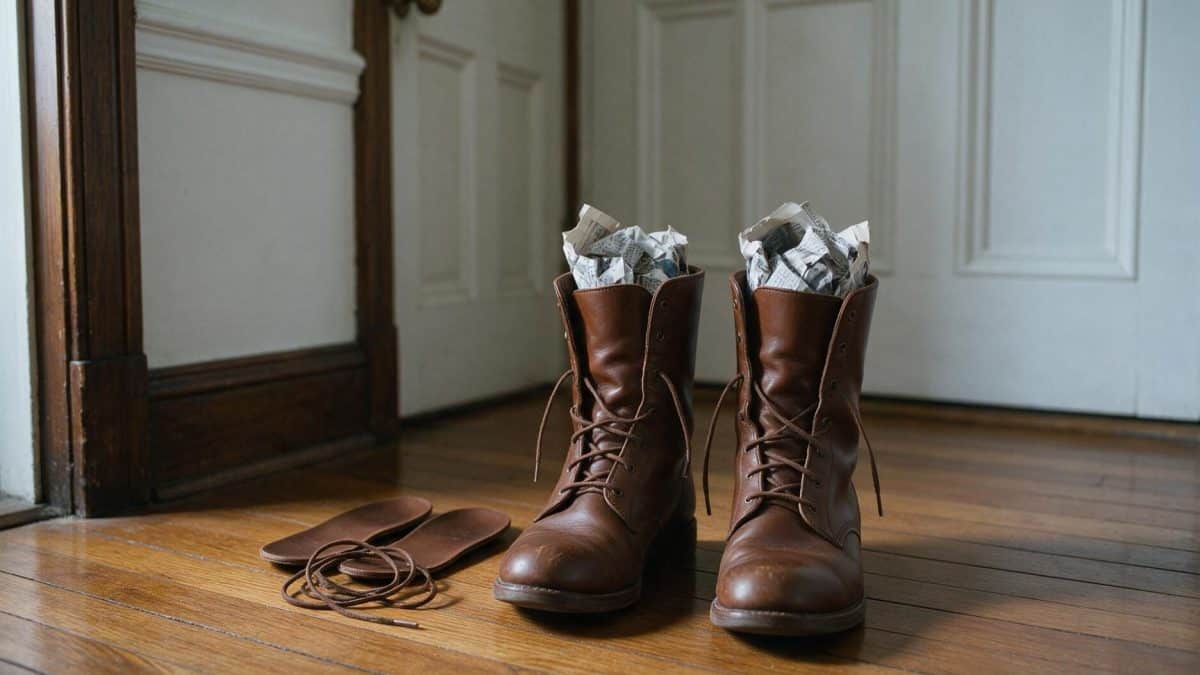
Room temperature, moving air, newspaper packed in loosely. Change the paper as soon as it feels damp: saturated paper holds water against the leather instead of pulling it out. Reckon on 24 to 48 hours for a soaked boot. No radiator, no fire, no hair dryer, no heater vent, no sun.
Condition once they are properly dry
A thin coat worked in with fingers or a cloth, concentrating on the toe box and the flex crease, where leather dries out first. Give it ten to fifteen minutes to absorb. More is not better: over-oiled leather goes soft and loses its shape.
Buff, relace, and re-proof if they were water-repellent
A dry cloth over the whole boot evens out the conditioner. Cleaning takes some of a factory water-repellent finish with it, so spray the protector now rather than in the next downpour.
Which leather you have decides how much water it will take
One test tells you most of what you need. Put a drop of water on a hidden part of the boot and watch it for a minute: leather that darkens under the drop is absorbing, and leather that holds it as a bead has a coating between you and the hide.
| Type | How to tell | What changes |
|---|---|---|
| Full-grain, unfinished or lightly finished | The drop darkens the leather within about a minute and the mark fades as it dries; visible grain variation and old scars | The most absorbent and least forgiving. Least water possible, and condition after every wet episode |
| Corrected-grain or pigmented | The drop beads. Grain is perfectly uniform, because it was sanded off and embossed back on. Often sold as “genuine leather” | Wipes clean easily, but the colour is a coating: a scuff through it never polishes out, only gets filled with a matching cream |
| Oil-tanned or waxed work leather | Matte, slightly greasy to the touch; a scratch burnishes away under a thumb | Red Wing’s guidance for this leather is warm water, a cloth and a soft brush, then boot oil or a conditioner. Polish does not build on leather already full of oil, and oil darkens it permanently |
| Nubuck or suede | A velvet nap that changes shade when you run a finger across it | A different method: brushing, no water, no conditioner. See how to clean suede |
Heat is the only step you can’t undo
Leather has a measurable point at which its collagen denatures and the fibre structure contracts: the shrinkage temperature. SATRA, the footwear technology body, publishes figures from the standard test, in which a strip of leather is immersed in water and heated until it suddenly shrinks. Raw untanned hide goes at about 65 °C (149 °F). Vegetable-tanned and alum-tanned leathers reach no higher than around 85 °C (185 °F). Chrome tanning pushes the point up to a maximum of roughly 120 °C (248 °F).
Two honest caveats. Those figures come from leather immersed in hot water, not from a boot in a room, so read them as an order of magnitude rather than a line you can walk up to. And sources differ on the onset: some put vegetable-tanned shrinkage nearer 70 °C (158 °F) than 85 °C. The direction is not in dispute. Radiator surfaces and hair dryers work in that range, and the result is permanent: hard, curled, a size smaller, and no product reverses it.
It is also why the tumble dryer question has a flat answer rather than a technique: a dryer applies heat and tumbling at once, to the leather and to the glued sole unit alike. The wider case is in how to dry shoes in the dryer; for leather there is no low setting that makes it acceptable.
Never speed up drying with a hair dryer, a radiator, an open fire, a heater vent or a tumble dryer. This is one of the few genuinely hard rules on the site: wet leather held against heat shrinks, and shrunken leather is done.
Common leather boot stains, and which ones come out
| Stain | Treatment | Recoverable |
|---|---|---|
| Fresh road salt tide line | 1:1 white vinegar and water, dabbed on, dried fully, repeated if a mark remains, then conditioned | Yes |
| Salt through several winters | The same treatment lifts the white mark, but the swollen ridge and the dried-out fibre stay | Rarely |
| Mud | Let it dry hard, brush it off, then a damp wipe over the panel | Yes |
| Rain spotting on smooth leather | Wipe the whole panel evenly damp so there is no dry edge for a ring to form on, then dry slowly | Usually |
| Oil or grease | Cornflour pressed on and left overnight to draw it up, repeated once. On unfinished leather the darkening stays | Rarely |
| Scuff through the colour on pigmented leather | Nothing restores a coating that has been removed; a matching cream polish fills the mark visually | No |
| Ballpoint ink | On a sealed pigmented boot an ink remover made for leather sometimes lifts it off the coating; on unfinished full-grain it is in the fibre | Rarely |
Buying boots that survive more than one winter
- Check how the sole is attached. A stitched or welted sole can be replaced by a cobbler; a cemented one usually cannot, or not economically. Cleaning almost never ends a pair of boots. A sole that cannot be replaced does.
- “Genuine leather” is not a grade. It means leather is present, nothing more; makers who use full-grain say so.
- Look at the lining. An unlined or leather-lined boot dries through in a day. A foam-backed textile lining holds water against the inside face of the leather for days, and that is where the stiffness and the smell start.
- Ask what the leather is finished with. Oil-tanned is maintained with oil, pigmented with cream, waxed with wax. Buying the wrong product is the common early mistake, and the one that darkens a boot permanently on first application.
Related guides
This method is for smooth and oiled leather uppers. Neighbouring cases run differently:
- Suede boots have a raised nap instead of a finished grain, so water is the enemy rather than the tool. See how to clean suede boots.
- The classic wheat Timberland is nubuck, which looks like suede but behaves like sanded full-grain. See how to clean Timberland boots.
- For the material in every form it takes, see how to clean leather.
- If it is one specific mark rather than winter grime, start at how to clean stains off leather.
Questions
Can I put leather boots in the washing machine?
No, and this is not a judgment call. A wash cycle soaks the leather through, agitates it, then spins it, and the detergent strips the fats out of the fibre as it goes. It comes out stiff and misshapen, and a long soak loosens the adhesive in a glued sole unit. The longer case is in can you machine wash leather.
Is saddle soap safe on leather boots?
This is a real disagreement rather than a settled point. Leather sits at roughly pH 4.5 to 5, while traditional bar saddle soaps are alkaline, in the region of pH 9 to 10, and conservators argue that repeatedly raising the pH strips oils and degrades the fibre. Against that, generations have used it on work boots without visible harm. Treat it as a heavy-duty cleaner, not a routine one: pH-neutral cleaner for ordinary dirt, saddle soap for badly soiled sturdy leather, and condition afterwards either way.
Can I use olive oil or coconut oil instead of conditioner?
Better not. Kitchen oils oxidise inside the leather rather than curing, which is what going rancid means, and the smell and the brittleness turn up months after the boots looked nourished. Coconut oil also leaves patchy, tacky areas. A dedicated conditioner costs a few dollars and has none of this failure mode.
How often should leather boots be conditioned?
Dr. Martens tells owners to wax their boots every one to three months for regular use, a reasonable baseline. In practice, go by the leather rather than the calendar: whenever it looks matte and thirsty or has flexed grey at the crease, and always after a soaking or a salt clean, because both take fats out with the dirt.
My boots got soaked through. Are they ruined?
Almost certainly not. Take the insoles and laces out, pack loose newspaper in and change it as it saturates, stand them in moving air at room temperature, and give them a day or two. Condition once dry, because the water took some fats out as it left. The soaking rarely ruins a boot; drying it fast does.
Should I put shoe trees in while the boots dry?
Sources split on this. Some bootmakers want cedar trees in during drying, because the wood absorbs moisture and holds the toe box in shape; others say wait, on the grounds that forcing a tree into a swollen wet boot can stretch it. A workable middle: newspaper while they are soaked, trees once they are damp rather than wet, left in afterwards to hold the shape.